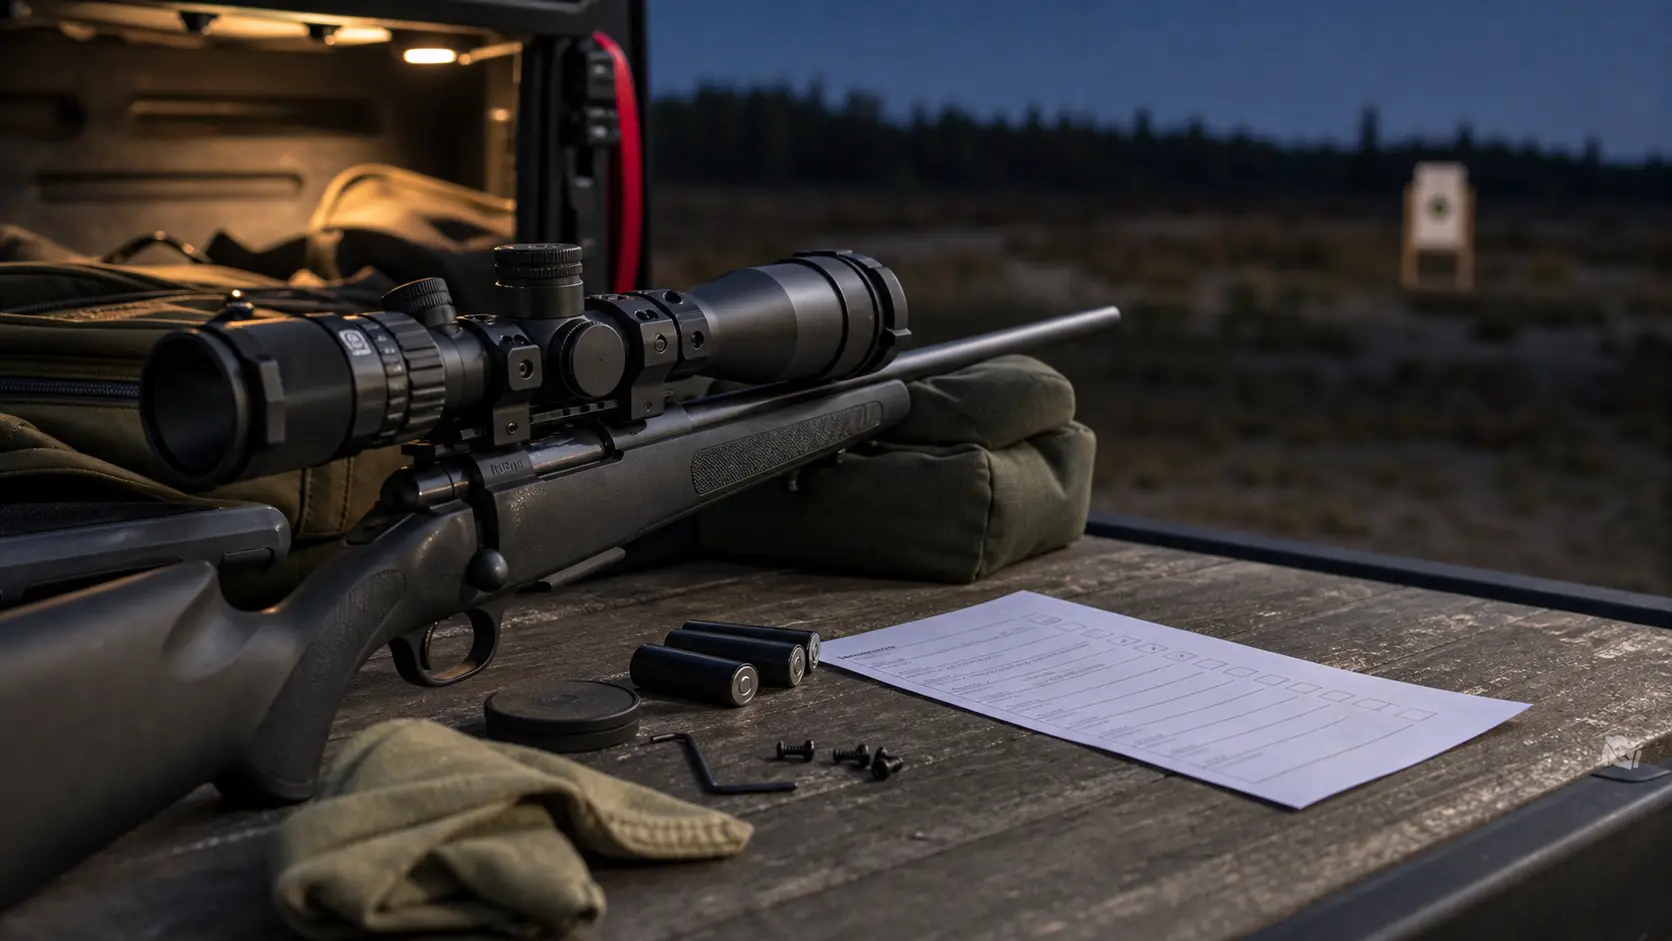
Thermal Scope Troubleshooting Guide: Blurry Image, Zero Shift, Battery Drain, and App Problems
The following section can assist you with various issues including image blur and shift, battery issues and app issues.
Before assuming that the optic is faulty, field checks should be performed in the following order: I see most of the issues with hunting rifles are related to focus, dioptre, image settings, zeroing, mounting movement, battery performance, firmware workflow, weather and/or a feature that hasn’t been tested prior to the hunt.
It’s not to say that all the issues are user errors. Water in the housing, frequent power outages, a failed firmware update, hard impact damage, ongoing artifacts, or a scope that won’t hold zero – even after the rifle, mount, ammunition, profile and shooter have been eliminated – can be a major service problem. The key lies in knowing what to look for first and not risk wasting a hunt hunting for the wrong issue.
Follow this guide as a step-by-step diagnostic sequence for stand-alone thermal scopes and thermal clip-ons. For the hog hunter, coyote hunter, ranch user, guide, or those who have just a little patience left running a thermal optic at night.
When a thermal scope becomes erratic, start with the basic field checks.
If your thermal scope suddenly appears to be out of whack, slow or refuses to do what it did last week, begin here:
- When handling the rifle controls, mount, battery compartment and scope, unload and make the rifle safe first.
- Check battery charge, proper installation and approval for your model.
- Make sure that lens caps, port covers, external battery cords and other obstructions are not in front of the objective lens.
- Align the eyepiece with a correct setting using the thermal scope eyepiece dioptre and focus the objective at real distance of the target.
- If ghosting, shading, or unequal background noise is present in the image, run a NUC or FFC cycle.
- Before pointing fingers at the sensor, check the palette, contrast, brightness, sharpness and gain settings.
- Make sure that the zero profile, rifle, ammunition, suppressor setup and reticle are correct.
- Check mount, rail position, screws and QD lever tension as specified in the exact mount & scope instructions.
- Only check versions of firmware and apps where the problem suggests it is an issue.
- Take weather into account: Humidity, fog, rain, cold batteries, warm ground, and condensation can all negatively impact a good thermal image.
That instruction card will pick up almost all issues in the field with the thermal scope without having to open it up, guess at torque settings or reset them at a future time.
Before Troubleshooting, refer to the following Rules of Safety and Warranty:
When handling a rifle, never touch the scope or mount until the gun is unloaded.
Always approach any scope problem as a rifle-handling problem. When tightening a mount, changing a battery, cleaning a lens or working around the muzzle, unload the rifle, remove the magazine, and open the action to ensure that the chamber is clear.
Never open the housing or make any changes to the device.
Avoid opening of the thermal scope housing, bypassing of seals, aggressive contact scraping, installation of unsupported firmware files, and drying with heat. Such moves can cause additional damage and could be covered by warranty.
If you have a specific model, follow the Exact Manual.
Not all thermal scopes reset, update, pair, record or store files in the same manner. Please read the manual of your exact model before trying firmware recovery, factory reset, app pairing, storage formatting, or RAV set up.
Stop If You See Water Intrusion, Impact Damage, Burn Marks or Electrical Smell.
If you encounter internal fogging, water in the display area, cracked housing, a swollen battery, burn marks, melted ports or a scent of electrical damage, cease troubleshooting and reach out to thermal scope dealer support or manufacturer.
Field Fix or Service Issue?
| Symptom | Likely Causes | Quick Checks | Contact Dealer or Manufacturer When |
|---|---|---|---|
| Blurry image | Diopter, objective focus, dirty lens, digital zoom, weather | Set diopter, focus objective, clean lens safely, return to base magnification | Image remains soft at any distance after proper adjustment of diopter and clean lens |
| Washed-out or noisy image | Bad settings, humidity, warm background, NUC needed, sensor limits | Run NUC, adjust contrast, try palettes, compare conditions | Artifacts remain after NUC or image suddenly degrades in normal conditions |
| Frozen screen or lag | Firmware bug, low battery, recording load, cold behavior | Restart manually, charge battery, turn off unnecessary functions | Repeated thermal scope frozen screen behavior continues |
| Scope will not turn on | Dead battery, wrong orientation, dirty contacts, bad cable, power fault | Try known-good battery or approved external power | Thermal scope won’t turn on with known-good power |
| Battery drains too quickly | Cold, Wi-Fi, recording, LRF, high brightness, standby habits | Warm spare batteries, reduce extras, test runtime | Runtime is much less than expected under mild conditions with known good batteries |
| Loses zero | Wrong profile, loose mount, ammo/suppressor change, shooter error | Confirm profile, mount, rail slot, ammo, groups | Thermal scope not holding zero after rifle and mount variables are ruled out |
| App or Wi-Fi failure | Phone settings, permissions, App version, scope Wi-Fi mode | Check Wi-Fi mode, permissions, distance, battery saver | App pairing fails after official workflow and current versions |
| Recording or RAV failure | Storage, settings, model support, file limits | Confirm feature support, storage, setting, test before hunt | Thermal scope not recording after correct setup |
| Condensation or fog | External fog or internal leak, wet storage, temperature shift | Wipe exterior; dry gear; check for internal fog | Thermal scope condensation is visible within the optic |
| NUC or ghosting | Calibration timing, warm background, shutter behavior | Run manual NUC/FFC, cover lens if required by model | Thermal scope NUC problem or ghosting never clears |
| Buttons or menus behave differently than expected | Moisture, gloved fingers or hands, firmware, low battery, stuck button | Dry exterior, restart, test without gloves, review firmware notes | Buttons/menus still don’t behave as expected in normal dry conditions |
Problem 1: The thermal image is blurry.
Most of the time a blurry image in a thermal scope is a focus process issue and not broken sensor.
Check the Diopter first.
The diopter adjusts the focus of the display and reticle to your eye. So aim the scope at a plain background, call up the menu or reticle and focus the scope using the eyepiece until the icons and reticle are crisp. Don’t use an animal line or tree line for this step. If the text written on the display becomes blurry, it will result in a wrong image feel regardless of the objective’s focusing.
Objective focus is the next step.
Objective focus adjusts the focus to the scene. Having a coyote at 60 yards and a hog at 250 yards might require different attention. If a fixed focus model, be aware of the actual range restrictions. If you are having trouble identifying if it is a true issue of model focus performance or a fixed focus vs manual focus issue, USA Night Vision has a more detailed distinction here: fixed focus vs manual focus thermal scopes.
Avoid using digital zoom for correcting focus.
Digital zoom does not increase the clarity of a blurry thermal scope, it simply increases its size. Always zoom from base magnification and focus at the base magnification before zooming.
Thoroughly clean the Objective Lens in a safe manner.
Dust, mud mist, fingerprints, dried rain and oil can soften the image. Clean lens surfaces using safe methods and do not grind dirt into the surface. As for field care, check out this thermal scope maintenance guide: https://usanightvision.com/blog/thermal-scope-maintenance-field-care/.
Discuss the difference between Focus Problems and Weather/Distance Limits.
Fog, humidity, rain, warm ground, and heavy vegetation lead to a decrease in thermal contrast. What might look good on a dry winter night, might appear flat and soft on a wet pasture in July.
Problem 2: The image is washed out, flat, or noisy.
Not all thermal scope image noise is bad. At times, the thermal contrast of the scene is low. In some cases, the settings are not correct.
Run NUC or FFC if the Scope needs calibration.
Non-uniformity correction (NUC) will remove non-uniform sensor responses. Some scopes automatically do it for you, while others can be calibrated manually. If shading, ghosting or fixed-pattern noise is seen, perform the appropriate NUC process for your model. Refer to USA Night Vision’s article on Thermal Scope NUC explained: Auto vs manual calibration for more information.
Adjust contrast before turning up the brightness.
Too much display brightness can make a washed-out image worse and can hurt your night vision. Make small adjustments to contrast, gain, brightness and sharpness. The intent is to isolate animals from background and not to light up the entire screen.
You can use the White Hot, Black Hot or Target Highlight Palettes.
White Hot can be effective in a field. Another may show edges better, Black Hot. Highlight palettes are useful, but could also cause an overreliance on the heat blob. If you’re looking for a workflow with a broader settings, follow this guide to thermal image settings.
Know about Humidity, Rain, Fog and Warm Backgrounds
Apparent contrast is lower with high humidity, mist, rain, warm backgrounds. Warm rocks and brush, cattle, damp soil and metal gates all add to the equation.
Know When NETD and Sensor Limits Are the True Problem
Real limits were given by NETD, sensor resolution, lens size/pixel pitch, processing and display quality. Settings enable you to work with the data that the scope collected. They do not add any identification detail that was not there.
Problem 3: The scope seems to lose zero.
There is a need for careful process when there are complaints about thermal scope zero loss. Do not write off the optic after one bad shot.
Click on the correct zero profile to confirm that it is active.
There are several different rifle, ammo, reticle or distance profiles that are stored in most thermal scopes. This may happen due to a borrowed rifle, a firmware update, battery change or a hasty menu change. When the incorrect scope profile is used, the scope may seem to exhibit a thermal scope zero shift with no mechanical scope movement.
Inspect Mount, Rail Slot, Torque and QD Lever Tension.
Check mount, rail engagement, cross bolt position, QD lever tension, and condition of screws. Follow manufacturer’s specific torque and thread treatment instructions. Do not guess. USA Night Vision has a separate guide about how to mount a thermal scope.
Verify Rifle, Ammunition, Silencer and Zero Distance.
Point of impact can shift due to changed ammo, a different suppressor, a removed suppressor, a different upper, a dirty barrel or a different zero distance. But so can hastily arranged benches.
Recheck, using a Thermal-Visible Target and a Group
Use a target that provides the thermal scope with a definite aiming point. Shoot a group, not single shots. Confirm point of aim and point of impact at the actual zero range. The complete zeroing process belongs in this thermal scope reticle and zeroing guide.
Don’t blame the scope for one poor shot.
A single pulled shot, a shaky rest, a poor target or a hot barrel mirage around a suppressor are not signs of an optic fault.
Problem 4: Point of impact moves after firmware update/battery change/transport.
Check zero profiles and reticle settings after each firmware or trip/recoil or long ride in a truck before next hunt. Depending on the model, firmware can also modify settings, clear the default settings or ask to verify profiles. If a thermal scope firmware update fails, stop and proceed with the official recovery process for the same model; do not load any files from any forum.
Weak mounting can also be seen during transport. These can appear as point of impact shift, such as a rifle bouncing around in the case, a QD mount that was not seated all the way or a rail position that shifted by one slot. If there are any changes, check before hunting ZERO.
Problem 5: The scope will not power up.
If a thermal scope isn’t turning on, first check the power.
Test battery orientation, charge, battery type, cap position and battery contacts. Use a battery that is known to be good, or an approved external power source. Check port covers and cables; don’t force.
Batteries may appear charged, but may be weak in cold weather. Maintain spares warm, test scope prior to departing truck. If the scope does not start up with good-known power, then it is a service problem.
Problem 6: The battery life is far shorter than expected.
The most common causes of thermal scope battery drain are the use of thermal scope during cold weather, recording, Wi-Fi, Bluetooth, laser rangefinding, high display brightness, constant “screen-on” use, or misunderstanding the internal vs replaceable battery run time.
Create a pre-hunt routine; charge internal batteries, bring approved spares, test external packs at home, and familiarize yourself with standby mode. Do not presume that standby (or sleep) and full power off are the same. USA Night Vision has other guides available on thermal scope battery life and thermal scope standby mode/sleep/startup time.
Problem 7: The scope freezes, lags, or menus become bizarre when you use it.
The frozen menu may be caused by low power, firmware instability, recording process, full storage, cold conditions, or a temporary software fault. Power-up the scope following the scope manual. Review firmware version notes, do not upgrade firmware in the truck immediately prior to a hunt. Updates should be performed at home with enough time to check zero profiles, settings, recording, and behavior of apps afterwards.
If the thermal scope frozen screen problem occurs again, after the known-good power and proper restart steps, document the observations and contact support.
Problem 8: App, Wi-Fi, or Bluetooth Will Not Connect
Thermal scope app not connecting issues are generally on the phone. Verify that the scope Wi-Fi mode is on, if necessary, that the phone is connected to the scope network, permissions are granted, battery saver is not preventing the app from functioning, and the phone is close to the scope.
Thermal Scope WiFi Not working can also be due to mismatch of different versions of the app, phone OS and scope firmware. Download apps from official sources and follow model specific instructions. But if the optic itself does not fail, then issues with the app don’t necessarily prevent the scope from hunting if updates, transfer of files, live view, or settings are not needed. See our blog post on thermal scope firmware, apps and zero profiles for more in-depth feature context.
Problem 9: The video recording function or RAV is not operational.
When the thermal scope not recording issue occurs while hunting, verify storage capacity, recording parameters, file format, application connectivity, and whether the thermal scope supports the recording function required by the hunter.
Not all models have RAV. If thermal scope RAV not working is the problem, make sure that the model has RAV, that RAV is enabled, recoil sensitivity is suitable as per manual and there is storage available. Test recording in the pre-hunt. The use of recording is helpful, but should not be distracting from safe target identification and the shot. The guide to thermal scope video recording, Wi-Fi, apps, and RAV is a part of USA Night Vision’s efforts.
Problem 10: NUC, Ghosting, Shading or Image Artifacts
Thermal scope ghosting typically appears as a faint lingering image, irregular shading or a background pattern that remains on the screen. It can be resolved with a normal NUC or FFC cycle. Some models run automatically, some click or freeze for a few seconds and some need manual action.
If artifacts are present after pointing the optic close to very hot object(s), allow the scope to stabilize and perform the appropriate calibration. When artifacts do not resolve after multiple failed correct NUC cycles, or after water exposure, overheating or impact, consider it a possible service problem.
Problem 11: Condensation, Rain, Mud or Cold Weather Problems.
When temperature and humidity happen to change, it is common to see external fog. Internal fog is different. If the condensation from the thermal scope is on the inside of the optic, stop and contact support. Numerous thermal scope cold weather issues are actually a combination of battery, condensation, stiff control, storage issues.
IP rating is not abuse proof. Rain resistance does not imply pressure washing the scope, leaving port covers open, careless charging of wet gear or storing the rifle in a damp case. Dry the exterior and once home, open the case and allow the gear to warm to room temperature for long-term storage. See the guide to thermal scope waterproof ratings, IP67, rain, and cold weather for more details.
Problem 12: The scope does not feel "right" behind the rifle.
Not all complaints are filed electronically. Eye relief, eyebox, mount height, cheek weld, stock position, focus ring position, charging handle clearance, bolt clearance and button accessibility can turn the good scope into the bad.
On AR platforms, ensure controls are accessible without compromising position or interfering with charging handle. For bolt rifles, be sure that bolt throw is not restricted by the ocular housing and mount. If the scope seems slow or awkward it is an ergonomics issue, not an image issue.
Step-by-Step Pre-Hunt Troubleshooting Checklist
Use this prior to a serious night hunt:
- Charge internal batteries, pack known good spares.
- Check for the right rifle, ammunition, reticle and zero profile.
- Test mount, rail movement, QD lever and visible screw movement.
- Adjust the diopter using menu text or reticle, NOT a target.
- Adjust the objective to the real hunting distance.
- Perform NUC or FFC and verify image cleans up.
- Adjust palette, brightness, contrast and sharpness to the actual conditions.
- Check stand by, wake and full off modes.
- Test app, Wi-Fi, recording and RAV only IF you need these features.
- Check zero after Scope, Mount, Ammo, Suppressor, Firmware, or Rifle Change.
As you gain experience, you’ll be better prepared to recognize the times when you need to seek professional help, such as from a dealer or manufacturer.
Cease field troubleshooting and contact thermal scope dealer support or manufacturer when you encounter:
- Water inside the optic or internal fogging
- Damage from hard impact, cracked housing, damaged controls, broken ports
- Multiple power failures despite using known-good approved batteries.
- Burn marks, electric odour, swelling or heat damage
- Firmware update fails and will not recover following the recovery procedure in the manufacturer’s manual.
- Artifacts after correct NUC/FFC
- Questions about thermal scope warranty repair after setup, battery, mount, profile, ammo, focus, NUC and weather factors have been eliminated
- Thermal scope does not zero after a verified mount, rifle, ammo, shooter and group-confirmation process.
At this stage do not continue changing random settings. Record the model, firmware, batteries, rifle, mount, ammunition, change, and tested. That makes the support conversation quicker and cleaner.
Final Takeaway
The right kind of thermal scope trouble shooting is dull. Make the rifle safe, verify power, adjust diopter and objective, perform NUC, verify image settings, verify zero profile, inspect mount, account for weather and test features before needed.
A lot of thermal scope issues are not failures. These can be setup or focus issues, mount or battery issues, weather issues, firmware or workflow issues. A consistent diagnostic process safeguards the hunt, and gets you to the actual service issues more quickly.
But also keep in mind the following rule of identification: Thermal detection is not positive identification. A clean heat signature is great but legal and ethical shooting is still dependent on verifying target, background and context.
Internal Link Notes
Note: Analog night vision and thermal images are different systems; use the analog night vision troubleshooting guide as a contrast point if necessary.
- Focus problems: thermal scope fixed focus vs manual focus.
- Image settings: Thermal image settings explained.
- NUC, ghosting, calibration: thermal scope NUC explained auto vs manual calibration.
- Zero and profiles: thermal scope reticle and zeroing explained.
- Mount checks: How to mount a thermal scope.
- Recoil and set-up reliability: thermal scope recoil rating.
- Battery: thermal scope battery life guide.
- Firmware and apps: thermal scope firmware updates, apps and zero profiles.
- Recording/ Wi-Fi/ apps/ RAV: Thermal Scope Video Recording, Wi-Fi, Apps, and RAV.
- Weather and IP ratings: thermal scope waterproof rating, IP67, rain, and cold weather.
- Standby and power management: thermal scope standby mode.
- Cleaning & storage: Thermal Scope Maintenance & Field Care.
Can You Use a Thermal Scope During the Day? Daylight Use/Sun Safety and Zeroing Tips.
Night Vision Range Explained: Detection, Recognition, Identification, and Real Hunting Distance
How to Set Up an IR Illuminator for Night Vision: Placement, Beam Width, and Field Mistakes