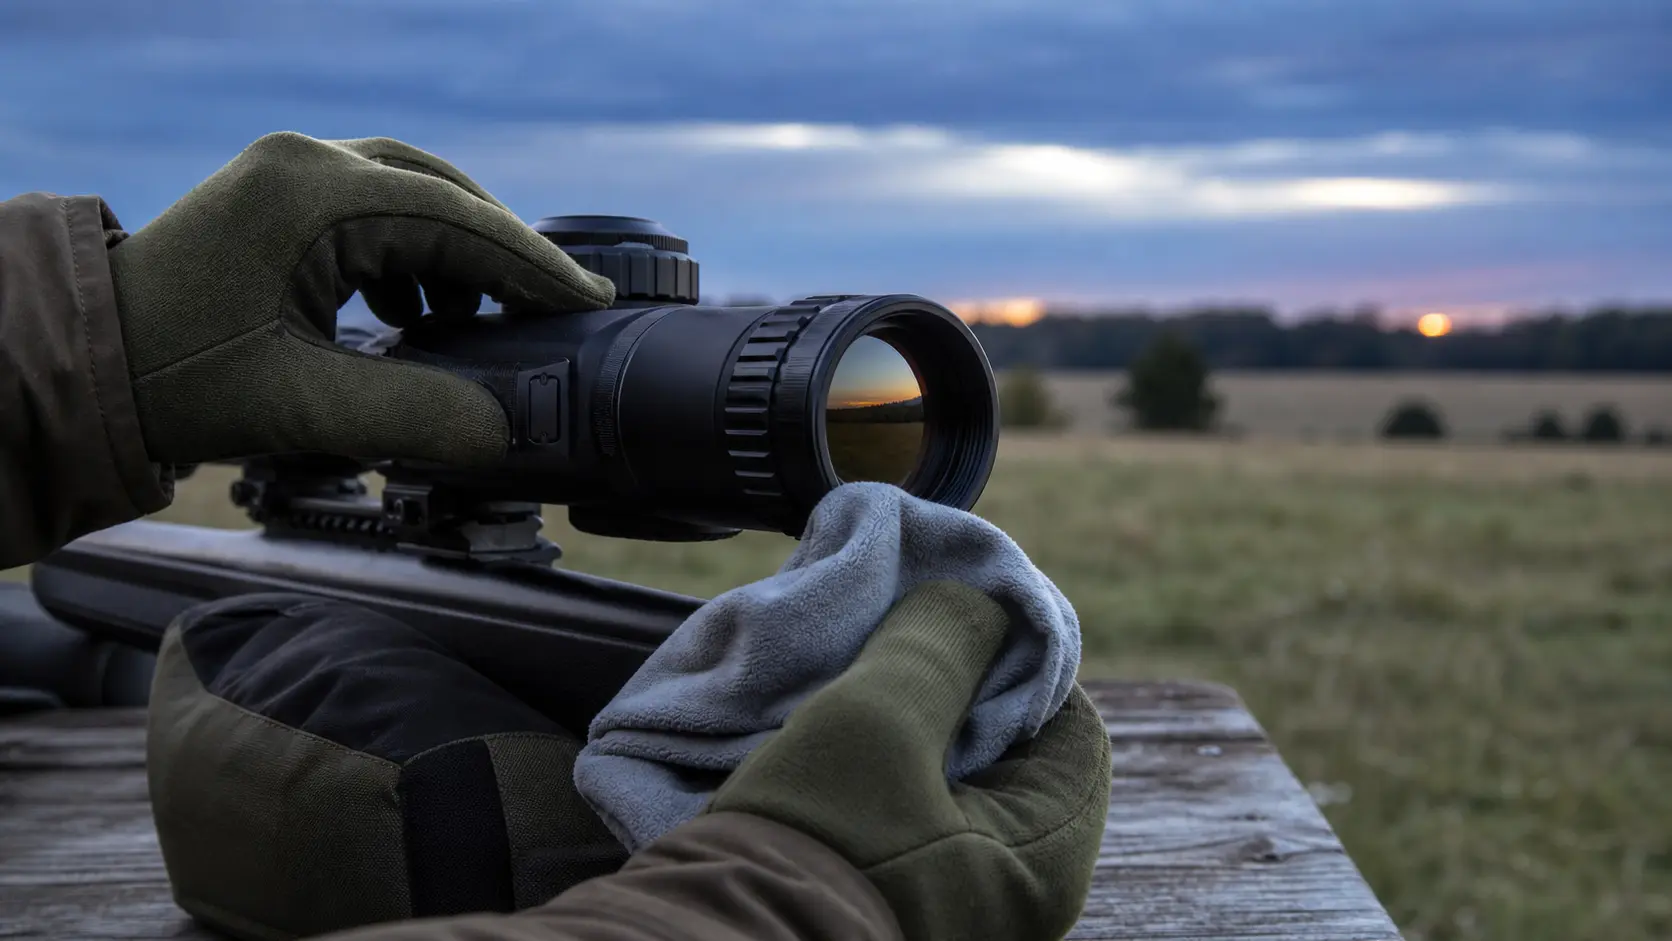
Why Is My Thermal Scope Blurry? Focus, Diopter, NUC, Weather, and Settings Fixes
When asking a question like “Why is my thermal scope blurry?” the first question to ask is not, “Why is the optic blurry?” The most common issues with blurry thermal scopes are due to setup, weather, settings or range expectations. The common causes are bad eyepiece diopter setting, wrong objective focus, dirty/fogged lens, not doing NUC/FFC calibration, washed out display settings, too much digital zoom, humid air that flattens thermal contrast.
Thermal is NOT daylight glass. It displays temperature variations and converts them to a picture on the screen. A scope can be functioning normally and still appear soft, pixelated, noisy or flat if the object being viewed is small, the weather is damp, the background is hot, or the user is beyond the realistic range of identification.
The solution is a very simple field procedure: sharpen the reticle, focus the target, run the calibration, check the lens, reset the image settings, and then make the weather, distance and hardware decision.
Why do thermal scope images appear fuzzy and lacking in detail?
These are not necessarily all the same features: blurry, pixelated, flat, low-contrast.
There are multiple issues with "blurry". A true thermal scope will get soft edges out of focus. The thermal scope digital zoom typically makes a pixelated image even more pixelated. Flat image can be caused by humidity or low thermal scope contrast or low thermal contrast. A washed out image is usually a sign of higher than normal thermal scope brightness settings.
Thermal scopes don’t display the same detail as daylight images.
If a thermal scope image is not clear enough to safely identify a target, it doesn’t necessarily mean it is defective. Detection is different from recognition and recognition is different from identification. An open pasture with a hog at 80 yards can appear to be a good-looking animal, while a coyote in a wet brush at 220 yards may look weak due to the size of the target and the difficulty in reading the background. See USA Night Vision’s guide to detection vs recognition vs identification.
When making adjustments, check the safest ones first, and make reversible adjustments.
Do these things in this order: Set the diopter, focus the objective, run NUC/FFC, check the lens, reset image settings, check the weather, use digital zoom, check distance, check sensor limits and consider service issues.
Quick Field Checklist: What to Check First?
Adjust the eyepiece diopter to make the menu icons and reticle sharp.
The diopter makes the image displayed to fit your eye. It does not focus the hog, feeder, tree or fence post. Call up the menu or reticle and carefully adjust the thermal scope diopter, ensuring that text, icons and lines of the reticle are clearly defined. This is the first fix for a thermal scope blurry reticle.
Use the correct target distance to make sure that the target is the right one.
Objective is the focus for the scene in front of the lens; it is objective and not subjective. An optics that appears good at 50 yards may be poor at 200 yards. For more detailed information on thermal scope focus, check out fixed focus vs manual focus.
Performs NUC or FFC calibration.
The non-uniformity correction (NUC), or thermal scope NUC calibration, is a process employed in thermal scope for evening out the image produced by the sensor. A similar process is referred to as FFC (flat-field correction) by some brands. If the image suddenly becomes streaky, soft, uneven or smeared after the change of temperature, perform manual calibration (if your model supports it). A complete guide to thermal scope NUC explained can be found at USA Night Vision.
Clean for moisture, dust, fingerprints or cover problems on objective lens
The thermal scope lens can become out of focus due to thermal scope lens fog, rain spots, dust, mud, mist, fingerprints or a half-open cap. Please inspect the front lens prior to changing menus. Never wipe grit on the lens; use manufacturer recommended cleanings.
Restores brightness, contrast, palette and sharpness to previous baseline.
Resets thermal scope settings if experiments have been carried out. Excessive brightness can cause the thermal scope to appear washed out. Too high a contrast can obliterate valuable mid-tones. What is colourful in one field can appear as if it is disappearing in another. For advanced settings, refer to USA Night Vision’s thermal image settings guide.
The most common confusion is diopter vs objective focus.
What the diopter controls
The focus of the eyepiece is the diopter. It should be personal to your eye and should make the display, reticle, numbers and menu icons clear.
What objective focus controls
Objective focus accentuates the outline of the target and terrain edges, feeder legs, fence posts, and brush at a certain distance. When adjusting the focus of a thermal scope it is important to remember the following basic rule: focus the eyepiece first, then focus the scene.
How to tell which one is wrong
Don’t use a moving animal, use a fixed object at a known distance. The diopter can be adjusted if the menu and reticle are out of focus. Adjust the objective if the target is blurred but the menu and reticle are clear. Check NUC, weather, brightness, contrast and palette if image is sharp but flat. Digital zoom is revealing the limitations of the sensor if it becomes blocky when zoomed.
The answer as to why day-scope eyepieces and clip-ons create another layer of focussing is simple.
Variables are added by clip-on thermal devices: day-scope eyepiece, parallax or side focus, clip-on alignment and clip-on calibration. Test each layer before deciding that the thermal unit is defective.
This is for NUC / FFC Calibration and sudden cases of soft image.
In simple terms, what NUC does is this:
There are slight variations between sensor pixels in each thermal sensor. NUC/FFC provides the scope with a reference point, which it will use to level the image. Hence some scopes freeze, click or close an internal shutter for brief moments during the calibration.
Manual calibration is carried out as necessary.
Run manual calibration when image becomes streaky, hazy, uneven or suddenly soft, particularly after coming from a warm truck to cooler air, hunting when dew is forming, or starting the scope.
Why changing temperature can make the image look worse
Thermal scopes involve the temperature of the sensor, the temperature of the ambient air, the temperature of the lens and the temperature of the scene. The image may not be as stable as you would like with fast changes until the device recalibrates.
Corrective measures when calibration cannot solve the problem:
Dirty lens, wrong diopter, bad objective focus, heavy fog, water inside the device, and unrealistic range expectation will not be solved by thermal scope FFC calibration.
Weather problems: fog, humidity, rain, dew and warm nights.
Why humid nights flatten thermal contrast
Warm and wet nights can cause thermal scope fog humidity issues. Conditions such as humid air, wet ground, wet vegetation, fog, rain and warm ground can decrease the animal to the background temperature difference. USA Night Vision has this covered in thermal scope fog and humidity night hunting.
Fog and wet brush can cause a decrease in useful range of identification.
Outline detail may be obscured by wet brush and fog. It is important for a hunting thermal setup for the hogs and even more so when hunting a thermal setup for coyotes, which are smaller and faster.
Lens fog vs atmospheric fog
Lens fog refers to moisture on the optic. Airborne fog is moisture in the air that is in front of the target. Sometimes lens fog can be dried or prevented, but atmospheric fog cannot be wiped off the scope.
Some settings can help, some settings can’t fix.
Minor adjustments to brightness, contrast, sharpness and/or white hot black hot palette settings can make a difference in making an edge show up. They are not able to transform a damp night with a low contrast into a dry winter field.
There are some settings that are likely to make a thermal scope look worse.
If it’s too bright, it will make things look flat.
Brightness should not be turned to maximum. Excessive brightness can adversely affect perceived thermal scope image quality.
Too much contrast can overwhelm beneficial data.
Too much contrast is not necessarily good. If there is not enough contrast, the lines will appear dull; too much contrast will obscure the mid-tone information that is vital to understanding shapes, brush and terrain.
The edges will appear or disappear depending on the palette selected.
White and black hot are convenient as they are rapid and easy. In some scenes color palettes can be useful, but can also cause the image to become cluttered.
Digital zoom will magnify any out-of-focus or pixelated areas.
Digital zoom does not increase sensor detail. It simply makes larger what the sensor had already detected. If you see the image at 4x or 8x on the thermal scope is blurry, step back and assess the basic image. According to USA Night Vision, there is a compromise involved in thermal scope digital zoom explained.
If the "main" image remains wide, then picture-in-picture can help.
Picture-in-picture allows you to maintain a large base window while providing you with a magnified window. It can be used for moving hogs or scanning lanes, but it can’t overcome poor focus, bad weather or poor sensor detail.
Distance and Magnification with Sensor limits
Detection does not equal identification.
Thermal scope identification range is not the maximum distance at which a hot spot can be seen, but the distance for a safe and responsible call.
Why small animals look worse at distance.
A broadside hog at 80 yards has more target area than a coyote at 220 yards. Small targets are in fewer pixels and the outline may be obscured by wet grass or brush.
The various factors of sensor resolution, lens size, pixel pitch, NETD, and display resolution and their relationship to perceived clarity.
The clarity results from the set complete: sensor resolution, lens size, pixel pitch, sensitivity of NETD, display resolution, processing, focus, and weather. Helpful background information can be found in the posts sensor size, pixel pitch, NETD sensitivity, and display resolution.
A scope can be strong on close shots and weak on long shots.
A 384 thermal can be effective for feeder hogs, and medium range distances in the ranch. It can appear weak when you need to push distance, use heavy digital zoom or want clean ID on small animals at a distance.
Mounting, Eye Position, and Shooter Setup
Eye relief and cheek weld have an impact on the viewing experience.
When your eye is not lined up in the center of the eyepiece it may appear dim, partial or uncomfortable. Always check eye relief and cheek weld first before evaluating the optic. For more information, read thermal scope eye relief.
Recoil, loose mounts, and POI shift are distinct issues.
A thermal scope blurry after zeroing is not necessarily due to zeroing; recoil, loose mounts or impact may cause other issues. Refer to how to mount a thermal scope for basic setup.
The focus ring should not be obstructed by external batteries, cables and accessories.
The external battery packs are helpful, but cables should not obstruct the objective focus ring, lens cap, controls, or your shooting position. Refer to the external battery pack guide.
Cleaning and Handling Without Damaging the Optic
Avoid wiping germanium lenses with the grit.
Do not scrub the lens with a shirt sleeve if dust, sand or grit is present on the lens. Pick up loose debris carefully and according to manufacturer’s instructions.
Be sure to use manufacturer recommended cleaning techniques.
Cleaning tool and fluids should be used as recommended for your optic. Do not use harsh chemicals unless specified in the manual. The next read is USA Night Vision’s thermal scope maintenance and field care.
If there is moisture within the device, it is a stop and seek service.
“Field reality” is the presence of external dew. Inner moisture of the optic, back of the lens, or in the display is another story. Cease operations, record it and notify the manufacturer or dealer.
There are several cases when a blurry thermal scope may need service.
The image is still blurred after reset of diopter, NUC, focus and settings.
If the reticle is still not sharp at reasonable distances with the reticle focused, the lens cleaned, NUC/FFC has been done and the settings returned to baseline, service may be required.
Internal moisture or faults of the display or the focus mechanism.
Service signs are internal fogging, display flicker, groups of dark spots or a slipping focus ring that does not react to the calibration.
Issues that occur following impact, recoil, water contact or firmware updates
If the problem began after a drop, after an exposure to water, after heavy recoil or after a firmware update, make note of the changes and consult official support guidance prior to any further changes.
For a night hunt, the following setup is practical.
Make sure to focus at known distances prior to dark.
Prior to the hunt, have realistic targets at safe distances on your property. Understand the scope prior to animals arriving.
This profile can be saved or noted for future use.
Make a backup of brightness, contrast, sharpness, palette, NUC mode and zero profile setting. If you try something new, where will you go to undo what you did?
Test image in weather and terrain conditions that are expected.
Test in that area that is hunted: wet creek bottoms, humid pastures, timber edges or open fields.
Always have lens cloth, batteries, and a basic trouble shooting list on hand.
When it comes to night hunting thermal setup, have thermal lens maintenance supplies, extra power, and a short checklist. Planning beats frantic menu changes in the dark.
FAQ
Why do thermal scopes become blurry at night and why are they clear during the day?
There may be less thermal contrast (humidity, rain, dew, warm weather) at night. Check diopter, objective focus, lens condition, NUC and settings, too.
If the thermal image is blurry should I use digital zoom?
No because digital zoom enlarges data that was captured. Generally when the base image is blurry, zooming will accentuate this effect in the final product.
Does NUC calibration improve sharpness of the thermal image?
It can help clean up and make even an image where the sensor response is drifting. It cannot correct for a dirty lens, wrong diopter, improper objective focusing, bad weather or unrealistic distance.
My thermal scope seems blurry in humid weather, why?
Thermal contrast is lowered by humidity, fog, wet vegetation, and warm ground. Edges and identification detail may be compromised, but the scope is likely to still be able to detect heat.
Is it possible for a dirty lens to cause a thermal scope to appear out of focus?
Yes. The image can be softened by moisture, fingerprinting, dust, mud, mist or a cap problem. Only clean using manufacturer approved methods.
If the thermal image is not clear, is my scope broken?
Occasionally, but not often. Take care of the diopter, objective focus, NUC/FFC, lens condition, settings, weather, distance and digital zoom first. If the issue persists or if you notice internal moisture, display faults, dead pixels, or issues with the focus mechanism, contact the manufacturer or dealer.
Bottom Line
When the thermal scope is blurry, troubleshoot the system, like in the field. Adjust diopter for sharpness of reticle. Set the objective for the actual distance. Run NUC or FFC. Inspect for fog and dirt on lens. Return thermal scope to a baseline setting. Afterwards, fairly evaluate weather, zoom, distance, sensor resolution, display resolution, pixel pitch, NETD sensitivity and range for identification.
But thermal gear can’t do everything. The intent is not to make thermal appear as daylight. The aim is to achieve the clearest, safest and most productive picture possible with your scope and the conditions.
Can You Use a Thermal Scope During the Day? Daylight Use/Sun Safety and Zeroing Tips.
Night Vision Range Explained: Detection, Recognition, Identification, and Real Hunting Distance
How to Set Up an IR Illuminator for Night Vision: Placement, Beam Width, and Field Mistakes